iOS 5 Tutorial: Creating a Custom Tab Bar Controller
I'm currently revamping an iPhone app that I made for the New Student Orientation Program at Columbia University. The app has this beautiful custom tab bar that my friend designed and so I am re-implementing it for iOS 5.
I literally just spent the last three hours figuring out how to do this so hopefully I can save you all time.
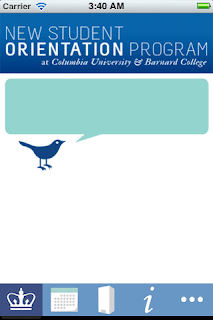
Finished Product:
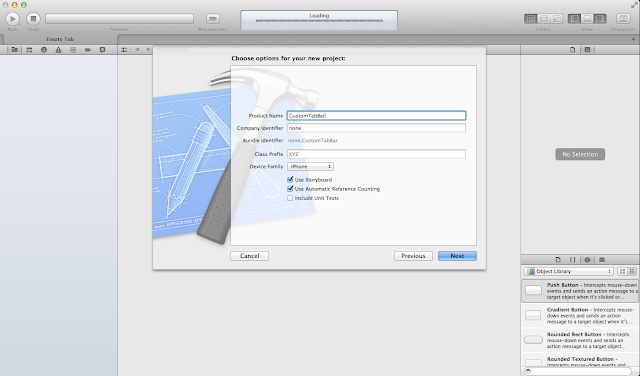
1. Create a New Tabbed Application.
2. Go to the MainStoryboard file and drag and drop three view controllers and connect them to the tab bar controller.
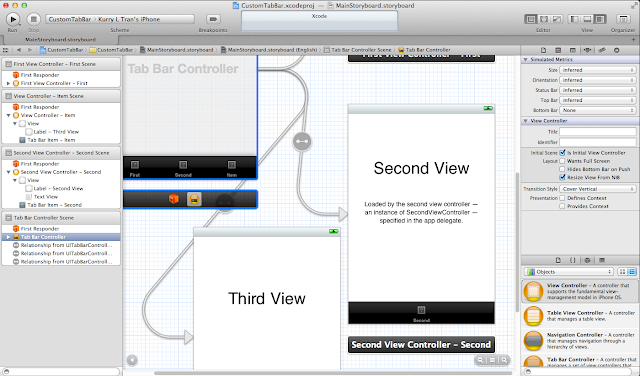
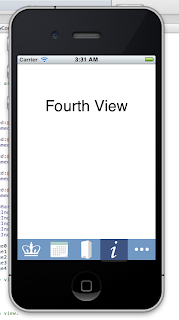
When You're Finished You Should Have Five Views Connected Like This:

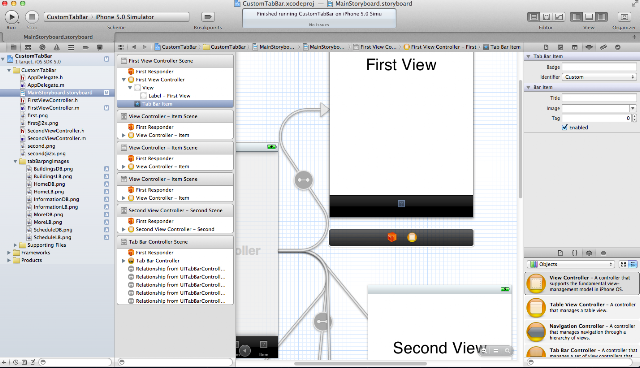
Note: Go to the right sidebar and delete the title for each of the toolbar buttons as well. Like this:
3. Because this is a tutorial about creating a custom tab bar, it's not necessary to create custom view controllers so I'm just going to use the auto generated FirstViewController.m file to do all of the work.
Download These Images: here.
My friend made these and so you can just download them and add them to your project. All of the images are 64px x 49px since 320px width / 5 = 64 px, and 49 px high because we thought that looked good.
The dark blue is for when the view is selected and the light blue is for when the view is unselected.
Note: The images were hard to format in Blogger hence the mess.


4. Drag and drop the downloaded images into your project.
5. Go to the FirstViewController.m file and add the following code below in the viewDidLoad method. The code essentially says that for each tab bar item at the index, when selected set the image to the dark blue image and when the tab bar item is unselected set it to the light blue image.
6. Build and run and you should be good to go.

Download Project Here: here.
I literally just spent the last three hours figuring out how to do this so hopefully I can save you all time.
Finished Product:

1. Create a New Tabbed Application.

2. Go to the MainStoryboard file and drag and drop three view controllers and connect them to the tab bar controller.

When You're Finished You Should Have Five Views Connected Like This:

Note: Go to the right sidebar and delete the title for each of the toolbar buttons as well. Like this:

3. Because this is a tutorial about creating a custom tab bar, it's not necessary to create custom view controllers so I'm just going to use the auto generated FirstViewController.m file to do all of the work.
Download These Images: here.
My friend made these and so you can just download them and add them to your project. All of the images are 64px x 49px since 320px width / 5 = 64 px, and 49 px high because we thought that looked good.
The dark blue is for when the view is selected and the light blue is for when the view is unselected.
Note: The images were hard to format in Blogger hence the mess.
4. Drag and drop the downloaded images into your project.
5. Go to the FirstViewController.m file and add the following code below in the viewDidLoad method. The code essentially says that for each tab bar item at the index, when selected set the image to the dark blue image and when the tab bar item is unselected set it to the light blue image.
6. Build and run and you should be good to go.


Download Project Here: here.